Docs
Pixel Flow user manual and best practices
Find scanning, filtering, image details, library, export, account, and industry workflow guidance by task.
Favorite Images and Organize with Tags
When you find images worth keeping on a page, add them to the Library first, then use custom tags to mark project, client, use case, status, or rights-review clues. Later you can search, filter, download in batches, or export an inventory without revisiting the original page.
When to Use This
| Scenario | How tags help |
|---|---|
| Design reference collection | Organize by project, style, layout, or reference value |
| Ecommerce image review | Mark main images, detail-page images, competitor references, rights pending, or delivered |
| Content and social publishing | Separate cover images, article images, candidates, used assets, and review-needed assets |
| Team handoff | Preserve client, source, purpose, and processing status |
| Rights review | Mark pending review, confirmed, not commercial, or needs client approval |
Tags are not rights proof. Tags only help you organize image clues inside Pixel Flow. Before public publishing, client delivery, commercial use, redistribution, or dataset preparation, separately confirm image licenses, website terms, portrait rights, trademark restrictions, and your internal compliance requirements.
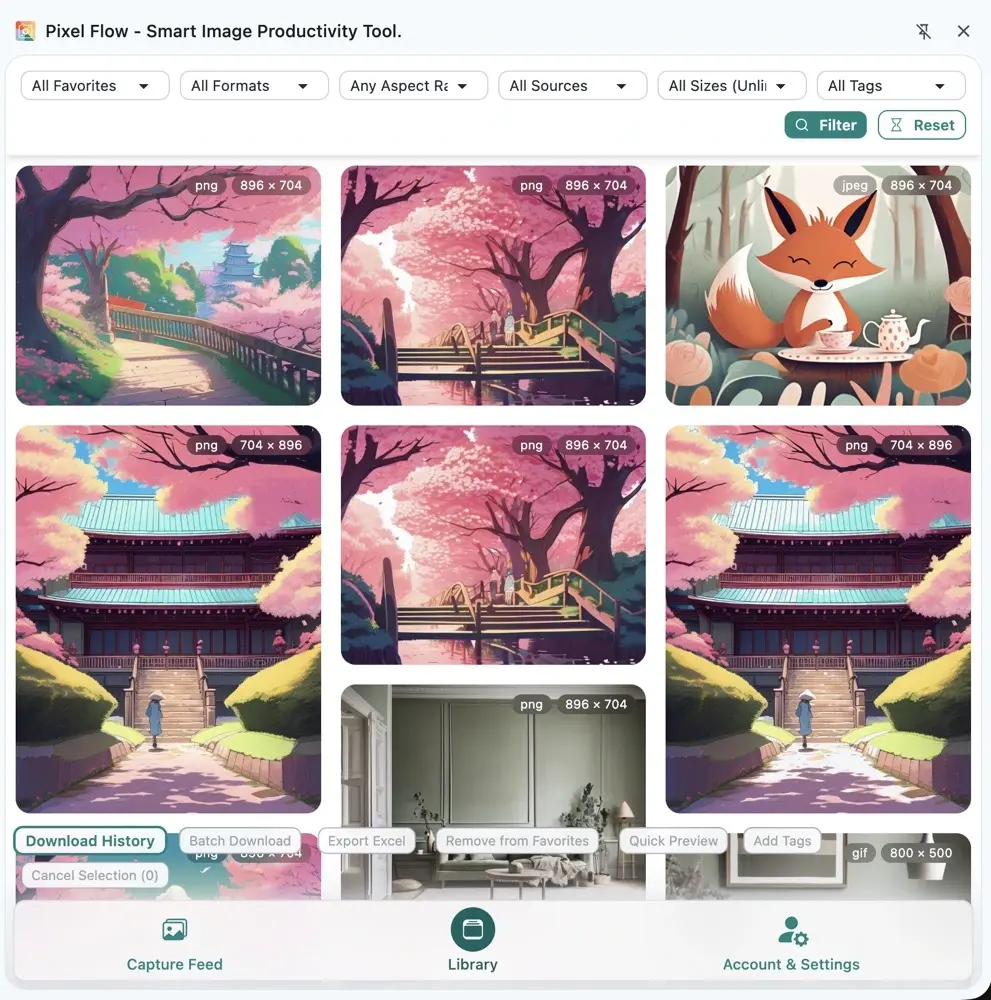
Where to Favorite Images
Common entry points:
- Favorite a single image from Capture Feed.
- Select multiple images in Capture Feed, then click Batch Favorite in the bottom action bar to add them to the Library together.
- Favorite after reviewing source and metadata in Image Details or the Preview page.
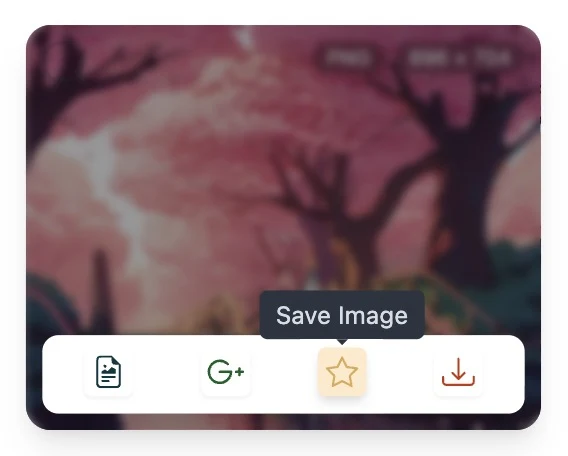
Favoriting is more like adding an image to your work queue. It does not download the original file and does not change the original web page. When you need deliverable files, use Library download, batch download, or inventory export.
Design the Tag System First
Tags work best when they are short, stable, and reusable. Treat them as filter fields, not long notes.
| Tag type | Examples | What it solves |
|---|---|---|
| Project or client | Client A, Spring campaign, Site redesign | Find assets by delivery project |
| Purpose | Cover, Detail page, Social, Competitor ref | Separate where an image may be used |
| Status | Candidate, Downloaded, Needs review, Delivered | Avoid duplicate team work |
| Rights clue | Rights pending, Confirmed, No commercial use | Prevent accidental reuse |
| Source type | Brand site, Stock, Social, Client supplied | Review source and risk |
If a label will only be used once, it usually does not need to become a tag. Keep one-off notes in image details, exported inventories, or team notes instead.
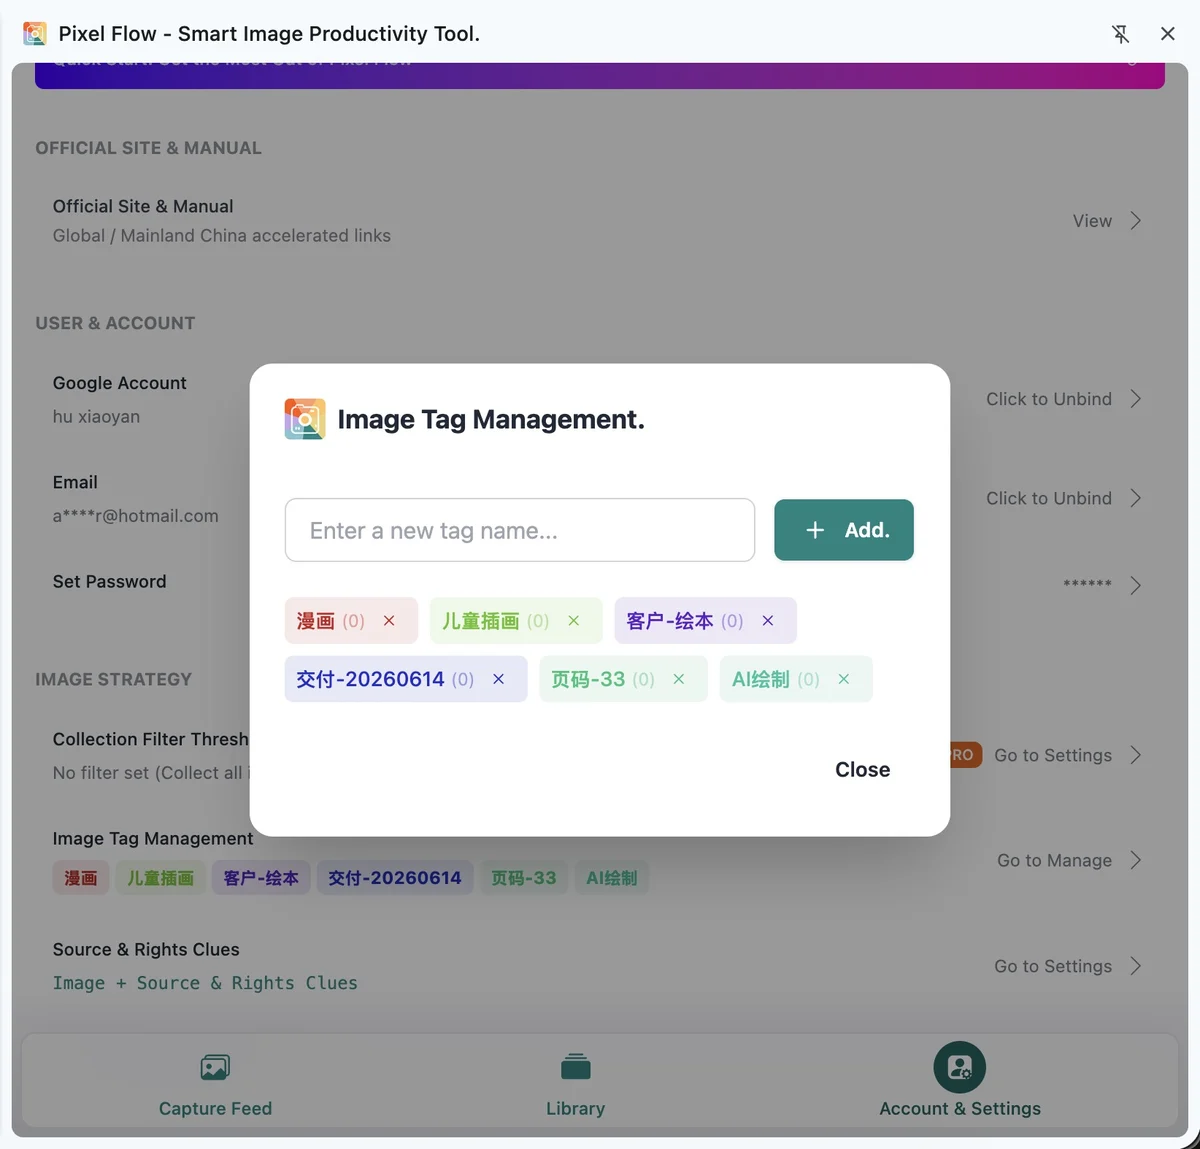
Tag Permissions and Limits
Pixel Flow custom tags have two limits:
- Tag library size: Free users can create up to 6 custom tags. PRO users can create up to 60 custom tags. See “View PRO status and records” for details.
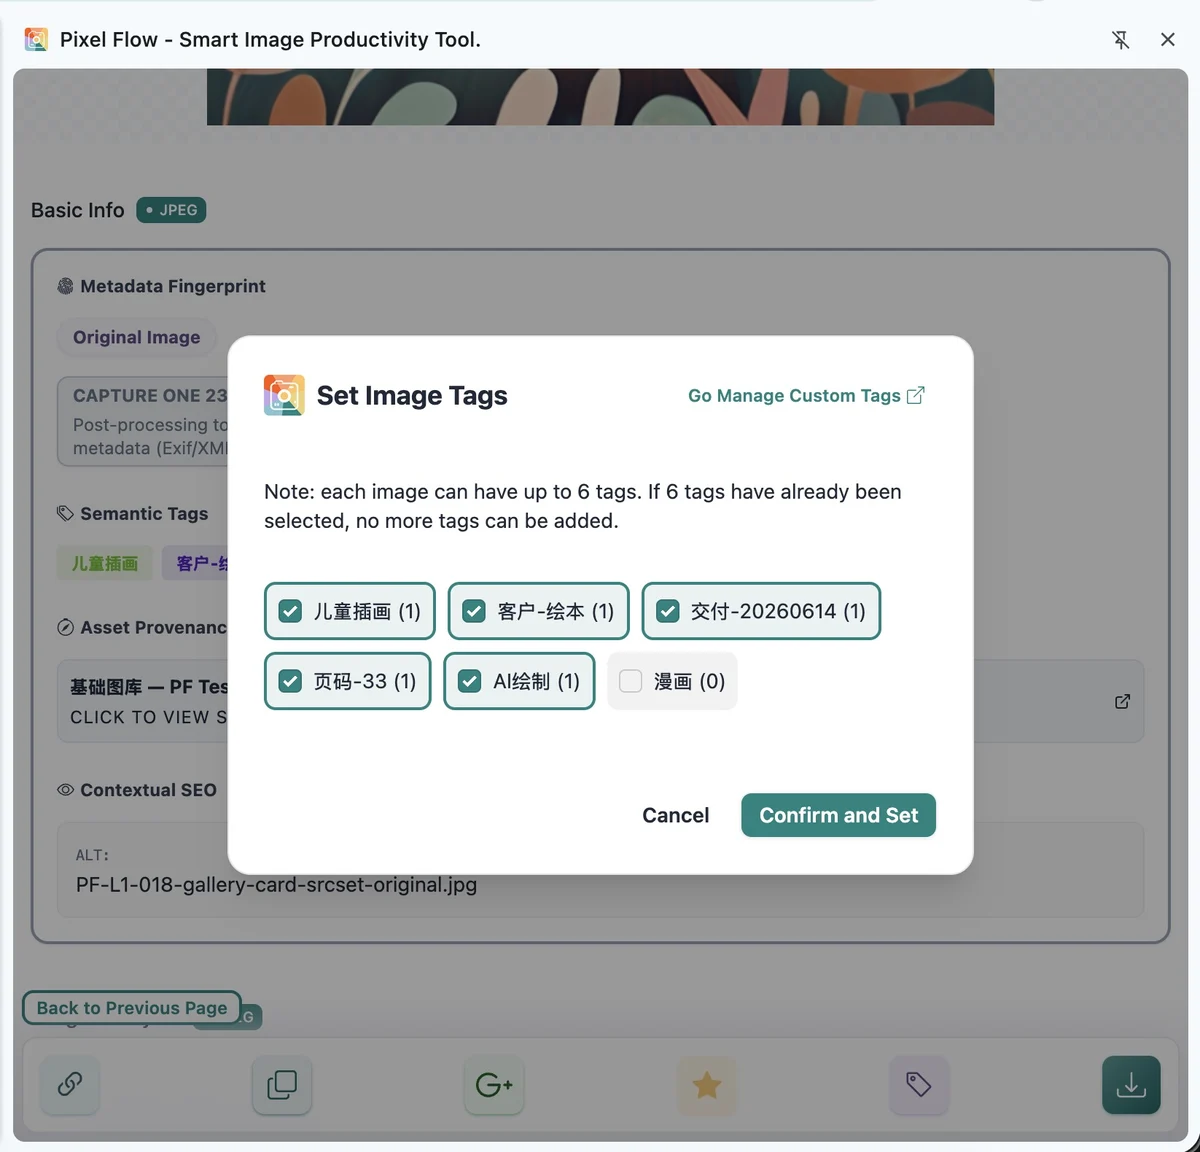
- Tags per image: Each favorited image can have up to 6 custom tags.
The per-image limit is an intentional product choice by the developer: 6 tags is usually enough to express project, purpose, status, and rights clues, while still staying readable in lists, detail panels, and batch-selection views. If your real workflow needs more tags per image, email [email protected] and describe your use case.
These limits apply to Pixel Flow custom tags. Image format, dimensions, AI fingerprint status, AIGC parameters, source page, and download records are image detail or analysis fields; they do not consume the 6 custom-tag slots.
Edit Tags on One Image
Single-image tagging is best for careful review: check source URL, page title, dimensions, format, download records, and rights clues before deciding whether to favorite and tag the image.
- Open the Library or Image Details.
- Open the edit-tags entry.
- Select existing tags, or create new ones first in Account & Settings.
- Save, then return to the Library and filter by tag to confirm the result.
Add Tags in Batches
When you have filtered a set of images with the same purpose, multi-select them in the Library and add tags in bulk.
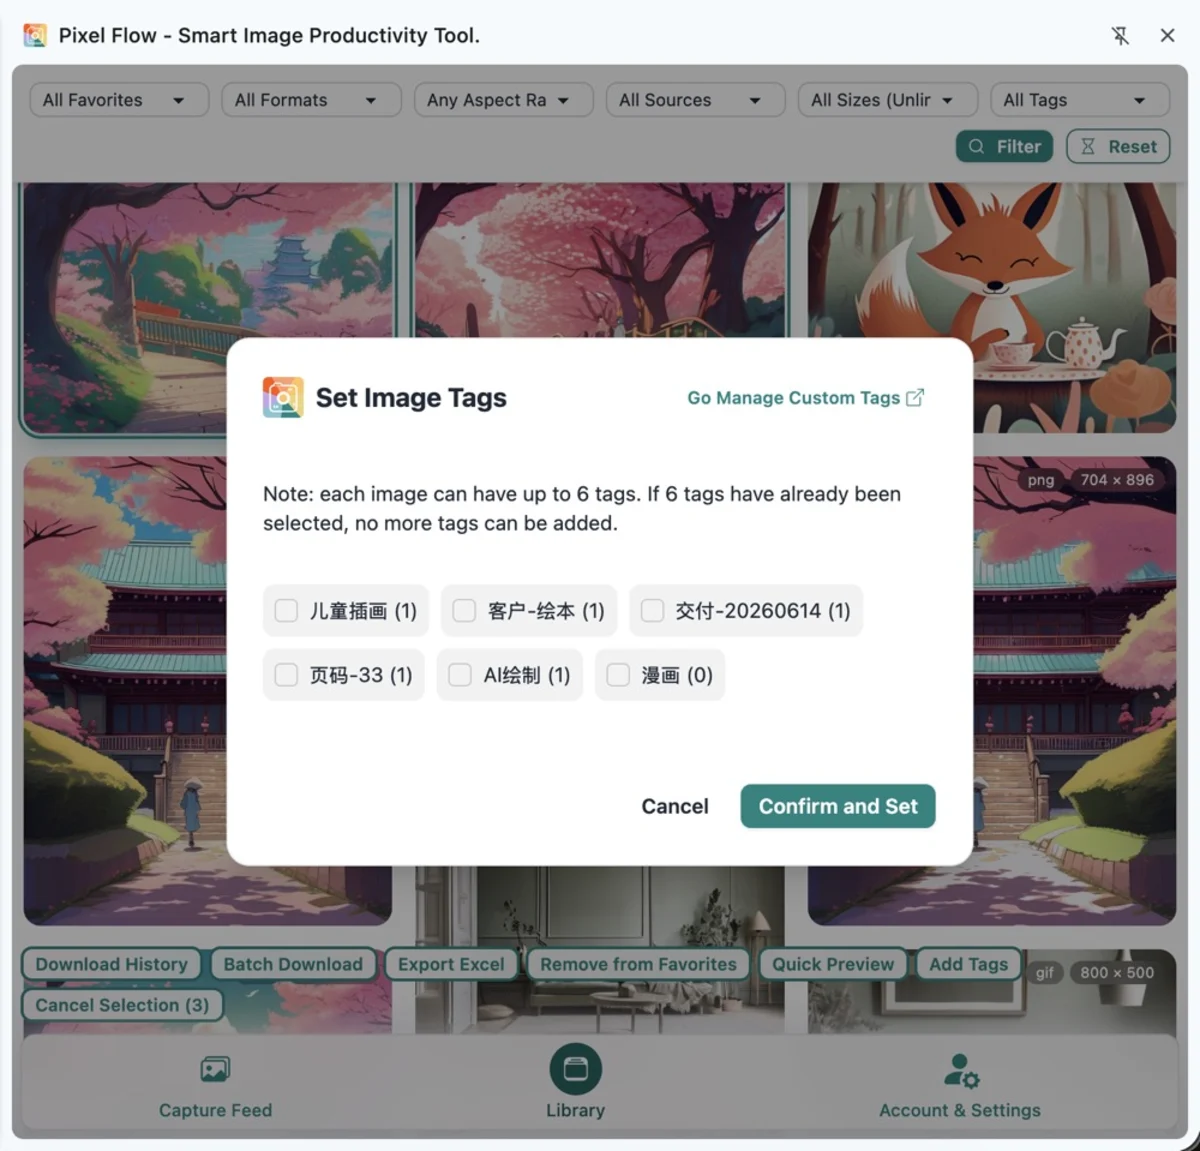
During batch tagging, Pixel Flow adds the selected tags image by image. If an image already has 6 custom tags, or reaches 6 while the batch is being applied, Pixel Flow stops adding tags to that image. Batch actions do not bypass the 6-tag per-image limit. Filter and review before broad batch actions so unrelated images do not receive overly general tags.
Search and Review
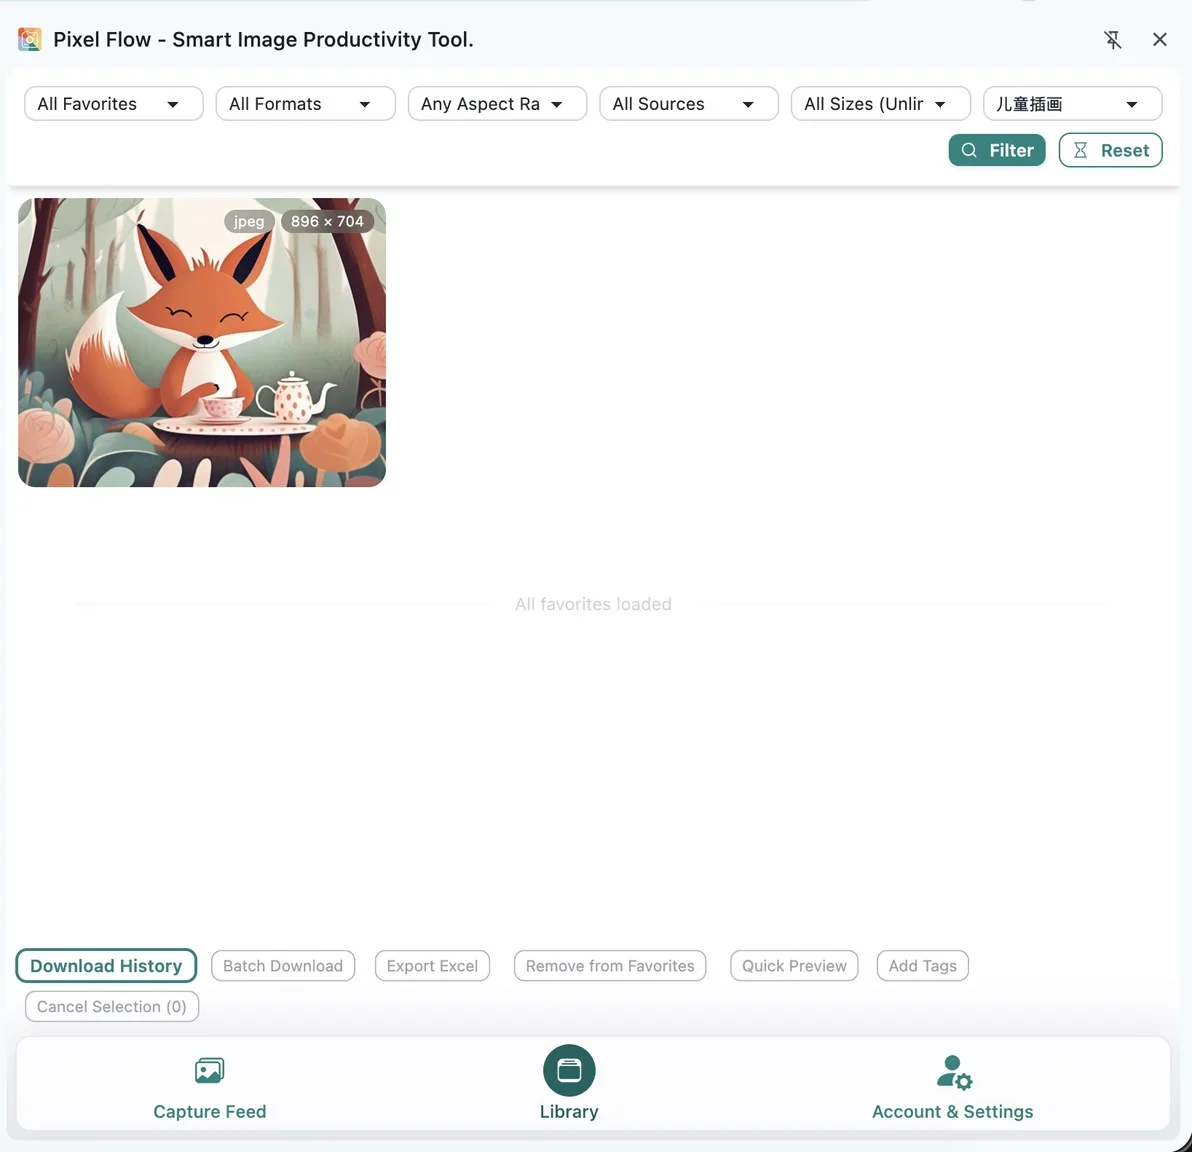
After organizing, use Library search and filters to find images again:
- Filter by project, client, purpose, or status tags.
- Combine tags with dimensions, format, or source-page checks to reduce noise.
- Open Image Details before downloading to review source and rights clues.
- Before handoff, export an inventory so files, source URLs, page context, and tags can be reviewed together.
FAQ
Why can I not create more tags?
First open Account & Settings → Image Tag Management and check how many custom tags you have already created. Free users can create up to 6 tags, and PRO users can create up to 60. If you are at the limit, delete or merge duplicate-meaning tags first. If you already have PRO but still see the free quota, refresh PRO status before creating more.
Why can I not add more tags to one image?
First open the tag dialog for that image and check whether it already has 6 custom tags. If it is full, remove a tag that is no longer important, then choose the new tag. Keep the most useful tags, such as project, purpose, status, and rights clue; put one-off context in team notes or exported inventories.
Why did batch tagging skip some images?
First inspect one image that did not receive the new tag and check whether it already has 6 custom tags. Batch tagging adds tags image by image, but it does not bypass the per-image limit. If an image is already full, Pixel Flow skips that image. Remove tags you no longer need, then add the new tag again.
Do tags sync back to the original web page or image file?
No. Tags are Pixel Flow records for organizing the Library. They do not modify the original web page and are not written into the original image file.
Related Pages
- Analyze image parameters and source
- Capture page images
- Tag management
- Edit image tags
- Batch add tags
- Search and filter library
- View PRO status and records